Автор:
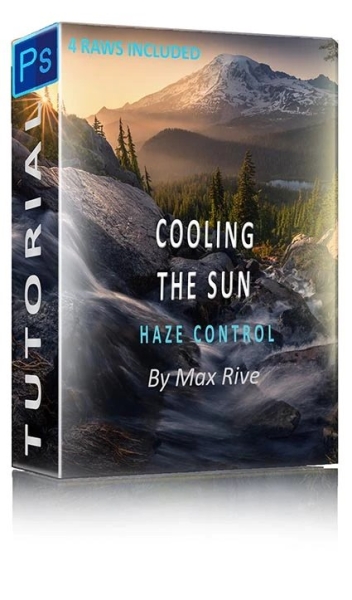
Photoshop Haze Control editing and post processing Tutorial is essential for every landscape photographer. Here is why… haze is what creates depth in a mountain landscape. When we landscapers talk about great light — it often means there is a combination of light and (plenty of) haze. In Photoshop editing, you can GREATLY enhance the light by… adding haze. With Max's latest Haze Control Technique, you can add haze with 100% realistic results — as if there really was a layer of haze. This creative editing and post processing technique is using both warm and cool color tones and brighter and darker parts. Besides this incredible new Photoshop editing technique you will also find the panorama distortion removal including a NEW removal of warping lines, color painting, waterfall editing, NEW color techniques, IG editing and MORE. This editing and post processing tutorial has now a limited time introduction discount.
Add depth with haze
Now with the new Camera RAW engine — adding haze is even more realistic than before. Watch and learn how Max is using this feature by combining different images together — one with haze and one without, and certain color and brightness settings.Cloudless sky
Even with no clouds, you can still create a moody image. See how Max is adding color to this cloudless sky. He is using the new Sky filter and some of his other creative techniques.Panorama Control
Merging photos together in one panorama is easy. Removing the distortion in your panorama is a different story. They are often heavily distorted. In this tutorial, Max will demonstrate how to warp your merged pano into an image as if it was taken as a single photo!Some Techniques used & explained:
Haze Control When you add haze, the mood of the image and the depth increases. However, you will also lose contrast and the cooler color tones in the shadows. The effect of the haze will however benefit the most when you simply combine the right versions of each edit. As you can see in the before and after — the after image has a lot of realistic looking haze. This has all been added with this NEW technique!
Distortion and Panorama
When you have to merge multiple wide angle landscape images — with a nearby foreground — into one panorama — the ''reposition images'' technique won't work. You have to choose any of the other merging techniques in Photoshop. The result is often a distorted image. Such is the case here. Learn how to remove the distortion in the WHOLE image and also to clean any horizontal lines that come with the distortion warping (NEW).Color Techniques — Look at the big, snow caped mountain (Mt Rainier) in the before image and then compare it to the after image. The mountain is totally flat in the before and looks pretty good in the after. This contrast and mood has been created with Max's latest color techniques!
Length 2h16min
Level: Advancedhttps://maxrivephotography.com/products/photoshop-haze-control-tutorial